
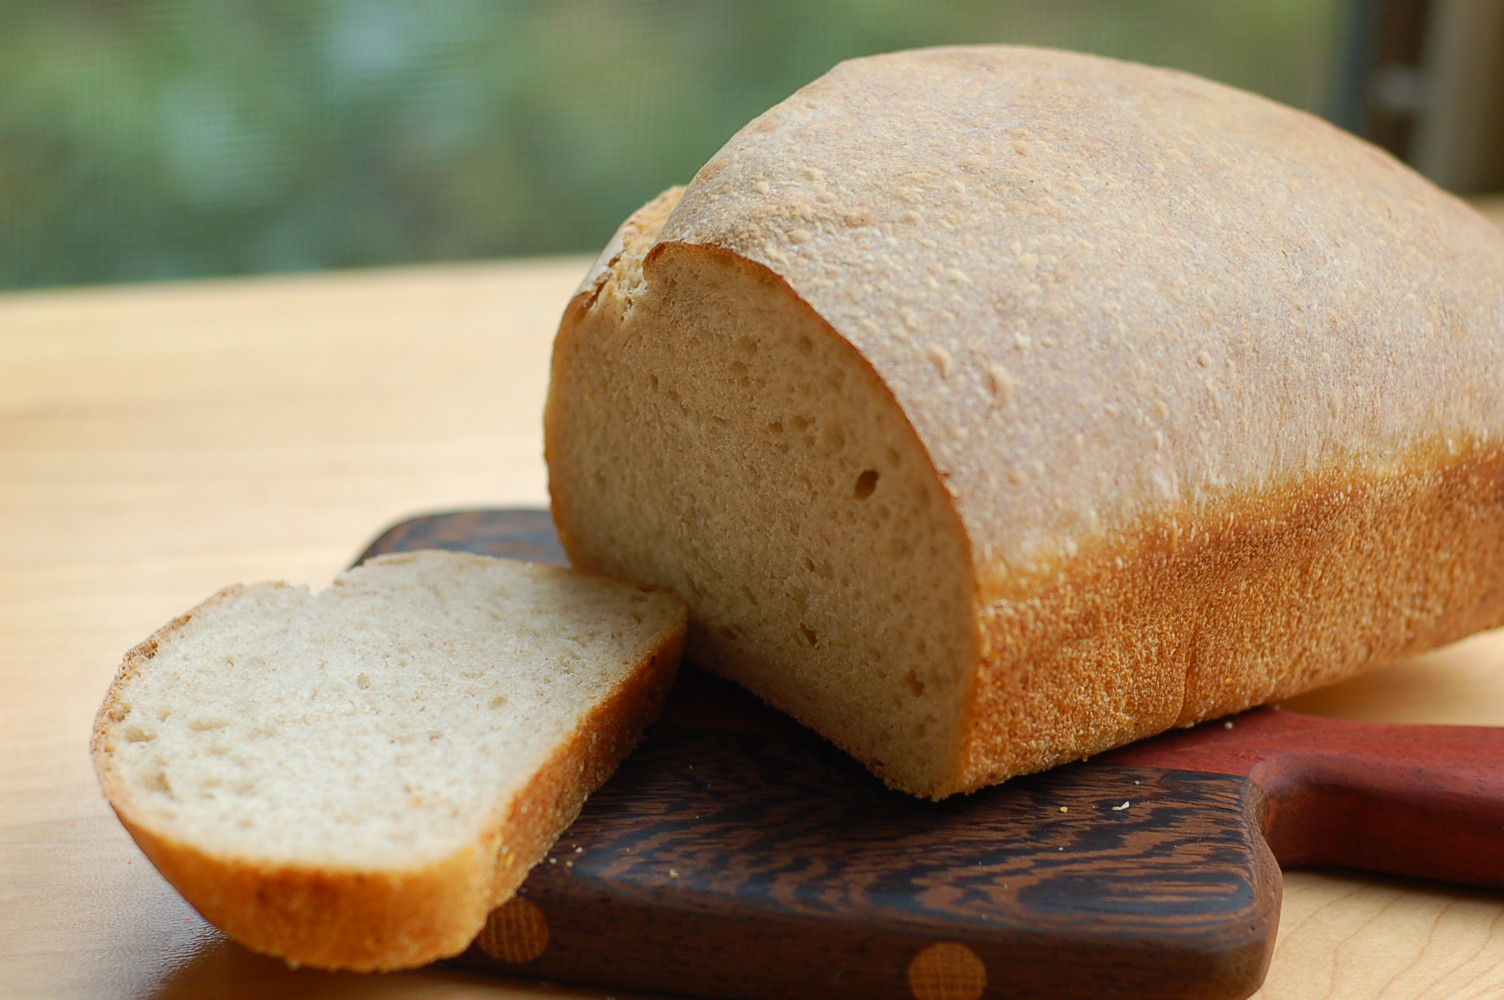
Sometimes you want a sandwich: Sourdough sandwich bread tutorial
Look, I’m all about the artisan boule. It is my preferred bread form, and I make between four and eight loaves a week. No, I do not eat them all, but I delight in the three-day process to nurture them into existence and the joy in conferring them on unsuspecting friends. It’s the best, and it’s the reason I started a starter.
But sometimes, I just feel like a sandwich loaf. They make such perfect sandwiches! Hence the name, I suppose. All domey on top, and squareish on the ends, they are super satisfying and make me feel like such a mom. They’re quicker, and they somehow don’t seem quite so fiddly, and cutting them up in neat little slices is a totally different, equally delightful experience.
As far as I’m concerned, artisan sourdough loaves are the pinnacle, but they use a hilariously small quantity of starter. My recipe for *two loaves* uses 30g of starter – that’s about two tablespoons. What a stupidly small amount when I feed my starter with about 56g of flour and water each day! Not even my busy baking schedule can keep up with the starter I produce. The glory of this sourdough sandwich recipe is that it uses a whopping amount of starter: about 315g, or 1 1/2 cups. That’s very helpful when your starter is looking to bust out of its container and you don’t feel like making anything but bread.
A lot of so-called sourdough sandwich loaves totally cheat by using commercial yeast as well as a wild yeast starter. Do you sense the rampant judgment in my tone? I don’t know why I feel judgy about this, but it seems to me that if I’m going to go to the trouble of keeping my dear sourdough starter alive, it better do all the jobs. And apparently if you include commercial yeast in a sourdough recipe, the commercial yeast overwhelms the slower-acting wild yeast. Why I care about this I couldn’t really say, but I do.
So what we have here is a recipe for a purely wild yeast sourdough sandwich bread that uses a bunch of starter, is done in a day, tastes absolutely brilliant, and makes me very happy indeed. It is modified (slightly) from a recipe on Holy Cow Vegan. She calls it yeast-free, but clarifies the point in the first paragraph.
Sourdough sandwich bread timetable
Like most breads, there are a few steps to making this. I usually start first thing in the morning, and am baking by around dinner time. It’s pretty forgiving, so if your timing doesn’t work exactly right, you’ll be just fine. Keep an eye on your dough so it doesn’t overprove, but I find with the sourdough starter, that’s not likely to be a huge problem.
| Mix together your levain, then leave to rest for four hours. |
| Add in the rest of your ingredients. |
| Knead, either with a stand mixer or by hand, or - my choice - a combination. Leave to rise for two hours. |
| Punch down, and divide into loaves. Leave to prove for two hours. |
| Bake! |
Sourdough sandwich bread recipe
The quantities below set you up for two lovely loaves, baked in standard size loaf pans. You need a large mixing bowl, some implement to mix your dough, and the loaf pans. I use my stand mixer for the first stage of the kneading, but it works fine by hand as well.
The first thing that you are going to do is make your pre-ferment, or levain. This is when you get your starter really going with a first snack of flour and water. If you want to bake in the evening, do this in the morning. I have found that this works best when your starter is a bit hungry, but not too hungry; I’ve had good luck using my starter when it has been fed anywhere between 12 and 24 hours before making this recipe. In a large mixing bowl (I use the bowl of my stand mixer, because later I will use the dough hook for a first knead), combine the following:
| sourdough starter | 315g (about 1 1/2 cups) |
| whole wheat flour | 145g (about 1 cup) |
| all-purpose flour | 145g (about 1 cup) |
| lukewarm water | 473g (about 2 cups) |
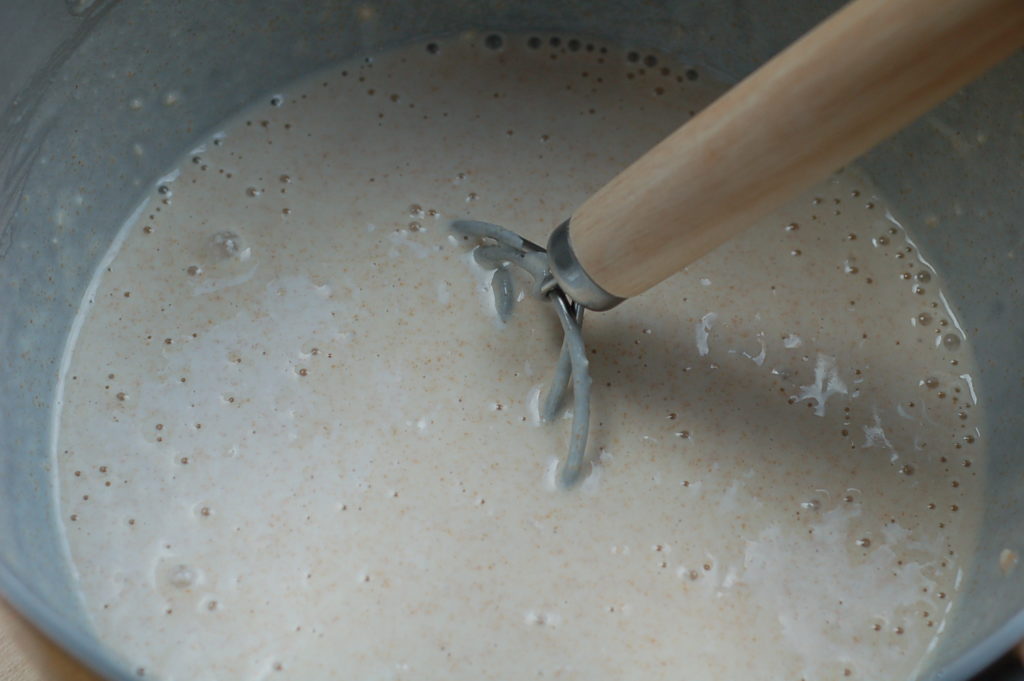
This is going to make more of a batter than a dough – it should be super wet and slack. I use my dough whisk to combine thoroughly; try to get rid of all the lumps.
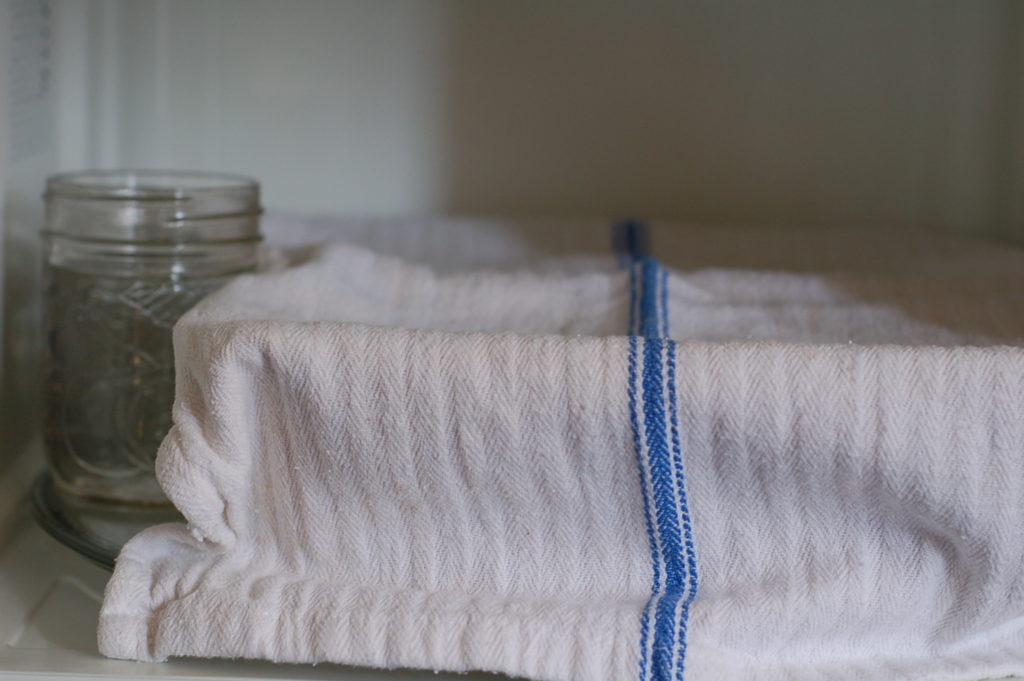
Once combined, set this aside, covered, in a warm spot for about four hours. Unless it’s really warm (ha! In Seattle?), I use my microwave as a proofing box. It’s very easy. Heat a (microwave safe) glass or mug of water for a minute or so, and then put your covered pre-ferment into the microwave with the hot water. Close it up, and leave it alone. Don’t turn the microwave on! It just provides an airtight, moist, warm environment for the yeast to thrive. If your kitchen is toasty, on the counter is also fine. I use a dinner plate to cover the bowl, but you could use cling wrap or a tea towel as well.
After four hours, your starter should be looking frothy and lively. It won’t have a super strong smell, but it should look a bit busy.

You’re now going to add the rest of the dough ingredients. This will require a little bit of trial and error on your part: how much flour you end up adding will depend on the texture of your dough. But I’ve never had it turn out badly, so chin up, baker!
Into your pre-ferment, add the following:
| all-purpose flour | 290g (about 2 cups) |
| vital wheat gluten | 30g (about 2 heaping tablespoons) |
| salt | 24g (about 4 tsp) |
| extra-virgin olive oil | 1 tablespoon (about 16g) |
As a side note, and I talked about this in the artisan bread tutorial as well, I think you could probably use bread flour in place of the all-purpose flour and get rid of the gluten. I don’t keep bread flour around, but the higher gluten content tends to work better for bread rise. So if you don’t have vital wheat gluten, you might consider just using higher gluten content bread flour. And you might need to play around a bit with the gluten quantity if you use a different all-purpose flour than I. I do have to say, that just using all-purpose, without the added gluten, tends to result in a pretty flat loaf.
Mix thoroughly. At this stage, I use the dough hook on my stand mixer, because it’s quite sticky, but now thick enough to be difficult to mix by hand. You want to mix it thoroughly, and it should start to come together as you go. You are going to add in even more flour shortly, so it is still quite slack at this stage. If you use your stand mixer, set it at a low speed (I use 3 or 4 on my KitchenAid), and use the dough hook rather than the paddle. If you are using your hands, this stage is probably quite sticky and messy, and I would do it in a bowl rather than on a surface, but you do you.
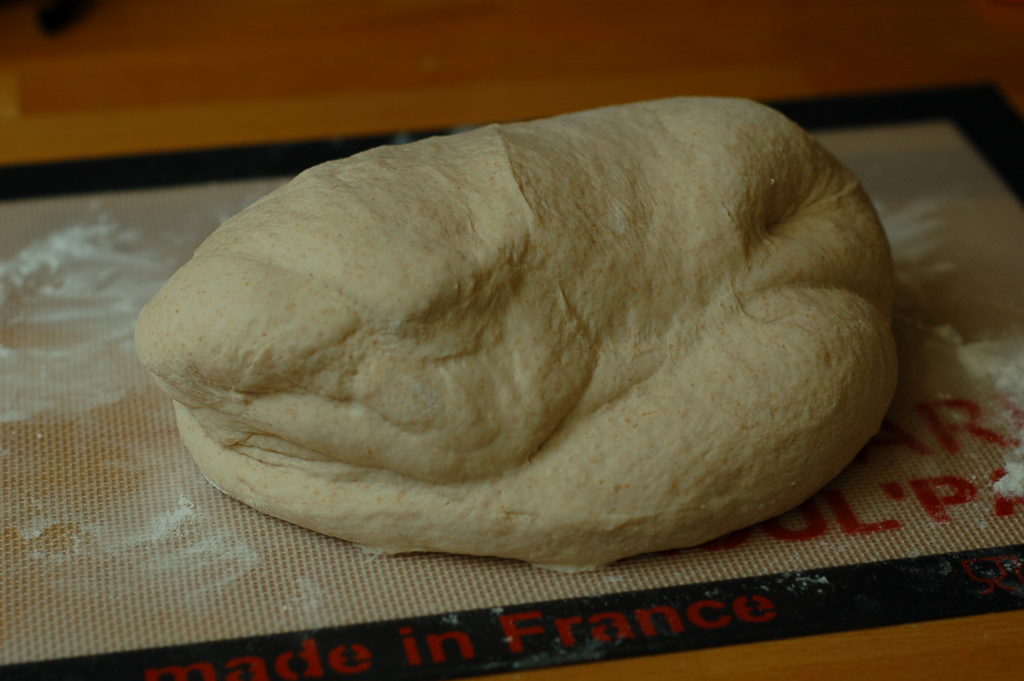
As the mixer kneads the dough, over about 5-6 minutes, slowly add in more flour. You’ll add somewhere between an additional 145-290g (1-2 cups) of all-purpose flour. I usually toss in another full cup once it’s mixed well, and then more slowly add in an additional 1/4 cup at a time up to an additional cup, until it looks about ready. It should have come together into a sturdy ball, no longer sticking to the sides or bottom of the mixer. At this point, I like to tip it out onto a well-floured surface and do a bit of kneading by hand, mostly so I can feel like a real baker. It should no longer be super sticky, but be smooth and elastic and easy to work with.
Incidentally, at this stage, I have to drag out my step stool so I can actually reach my dough to properly knead. It’s quite embarrassing being a miniature person with counters too high to work at.
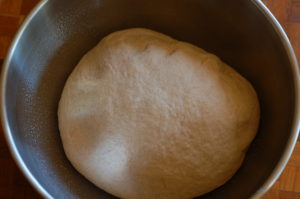
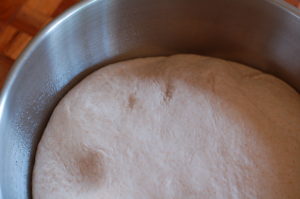
When you’ve had enough of kneading your dough, place it into a well-oiled bowl and turn it a few times so the entire lump of dough is oily. Cover and set aside to rise for about two hours. I return my bowl to the microwave, having reheated the glass of water. The dough won’t quite double in size, but it should be looking nice and poofy when you check it after a few hours.
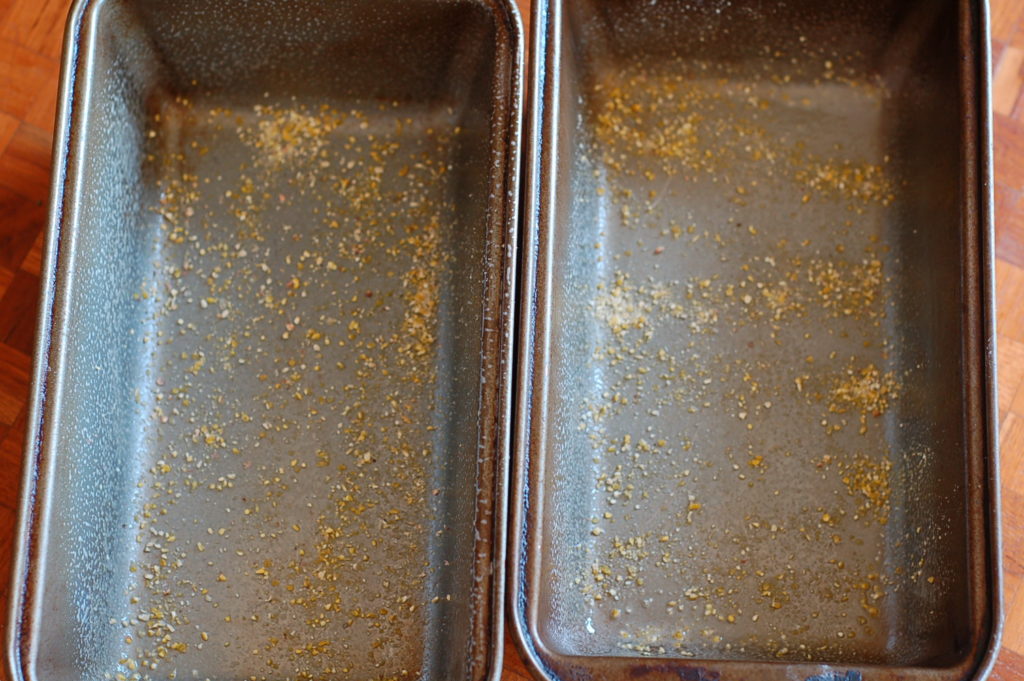
Close to the end of your bulk rise, prepare two loaf pans by spraying with cooking oil and sprinkling lightly with coarse cornmeal. This will make it super easy to pop your loaves out when they are finished cooking, and will give them that little lovely crunch from the cornmeal on the bottom.
When you are satisfied with the rise, pull your bowl of dough out of the proofing box and punch it down. Then tip the dough onto a well-floured surface, and divide into two approximately equal portions. Shape each into an oval-ish shape that nestles nicely into the loaf pans. I’m not very good at this; I think the better they fit in the tins, the better the rise will be. Mine tend to be a little misshapen.

Now for the final prove. Cover the two loaves with a tea towel and set them aside to prove for two hours. I again return these to the microwave-as-proofing-box with reheated hot water. It’s pretty cozy in there, but it works.
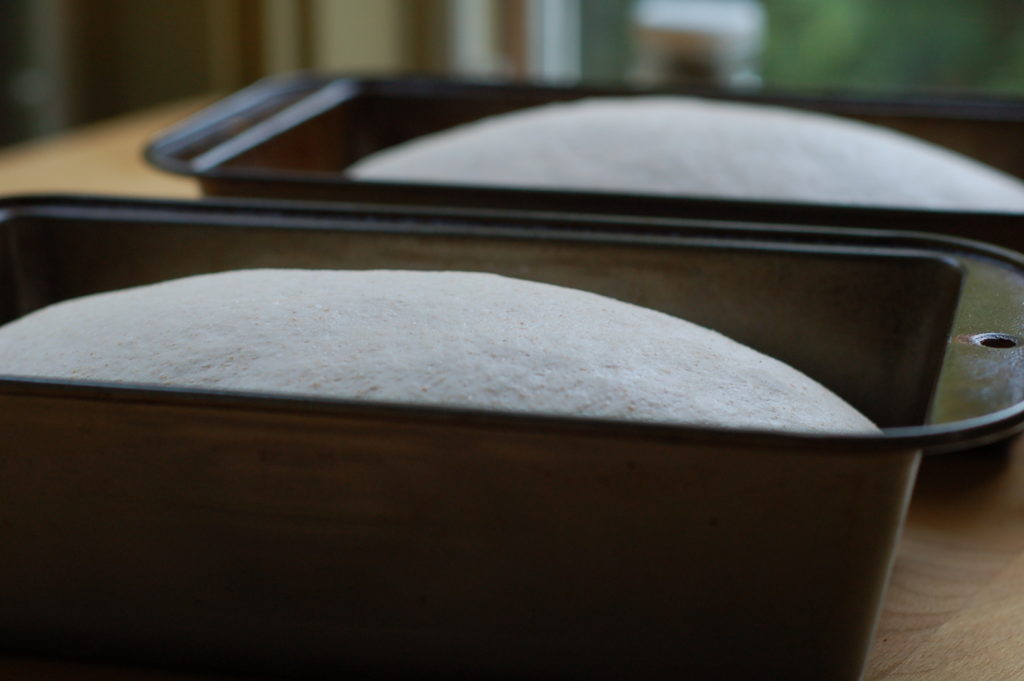
You want to bake when the loaves have just started peeking up over the lip of the loaf tins – it could take two hours, and it could take a bit longer. It depends a bit on how active your starter is, how much they rose during the bulk rise, and how you shaped your ovals. Rest assured that even if you have to rush it a bit, they’ll rise quite a bit more in the oven. About half an hour before your proofing is done, preheat your oven to 425°F/220°C.
Once your oven is preheated, and your loaves are proved, it’s time to bake! Pop them into the oven on the same rack for 40 minutes. When finished they should dome up in a lovely loafy way, and should sound hollow when you tap them on their bottoms. Tip them carefully out of their tins and allow to cool on a metal rack.
This is the actual hardest part: really do allow them to cool before slicing in. They’re still cooking. If you slice in too early, they’ll be denser and doughier than their full potential.
Now, what kind of sandwich are you going to make? Vegemite, avocado, sambal oelek, and a fried egg over here.
Okay I think I’ve got it. Truly generous instructions.
This *almost* makes me want sourdough starter again. And then I remember the pressure!!!
No pressure! Anytime you’re ready for your third child, just let me know.