Chocolate toffee cheesecake: a birthday dream
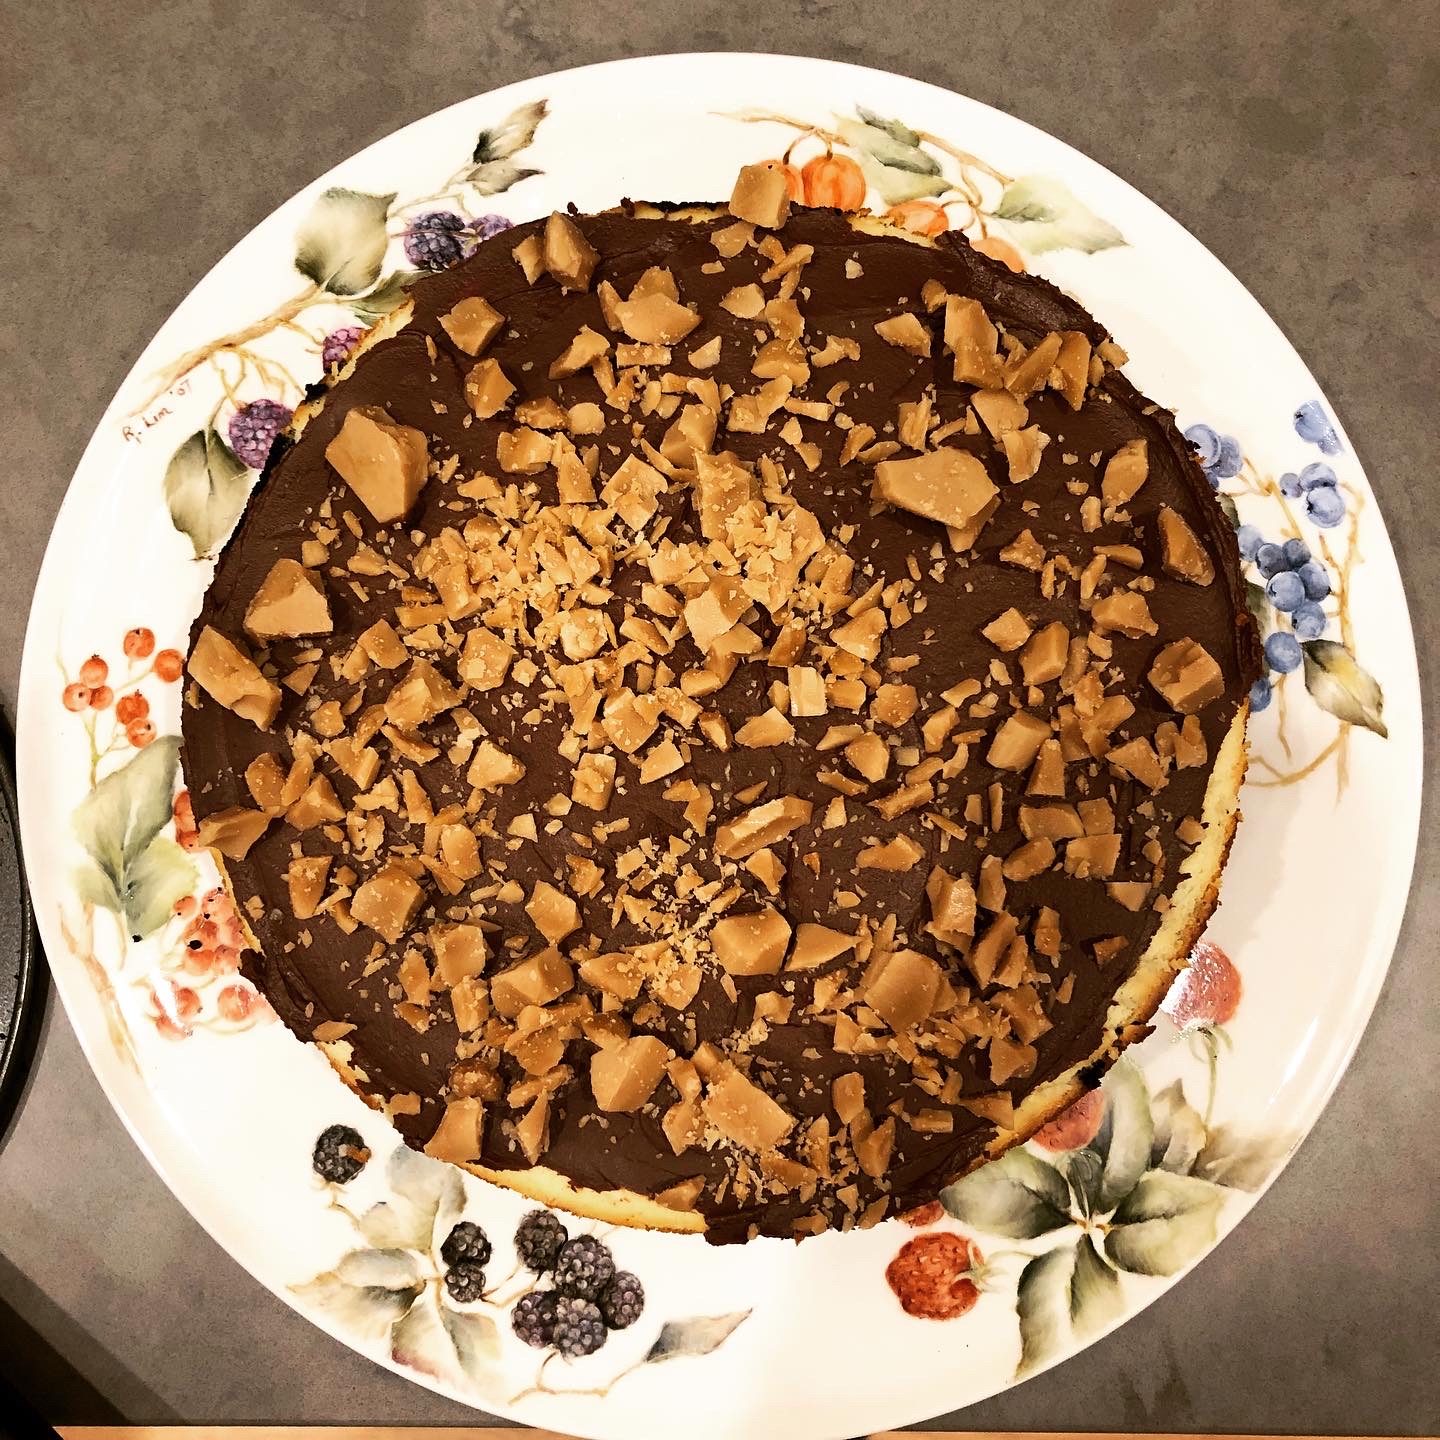
My oldest turned ten the other day, which is quite a milestone, not least because she made focaccia herself for her special birthday dinner. Luckily, she still wanted me to make her cake. This chocolate toffee cheesecake – a regular cheesecake topped with chocolate ganache and studded with chunks of toffee – was entirely her idea, but my own execution, and because it turned out so well I thought I better write down what I did.
Cheesecakes are a big hit in this household; my husband requests one every year, and this is the second year my oldest has requested one as well. I think the reason it’s so popular with these people is that a good one isn’t too sweet. A good cheesecake is creamy and rich, but not overloaded with sugar and sweetness.
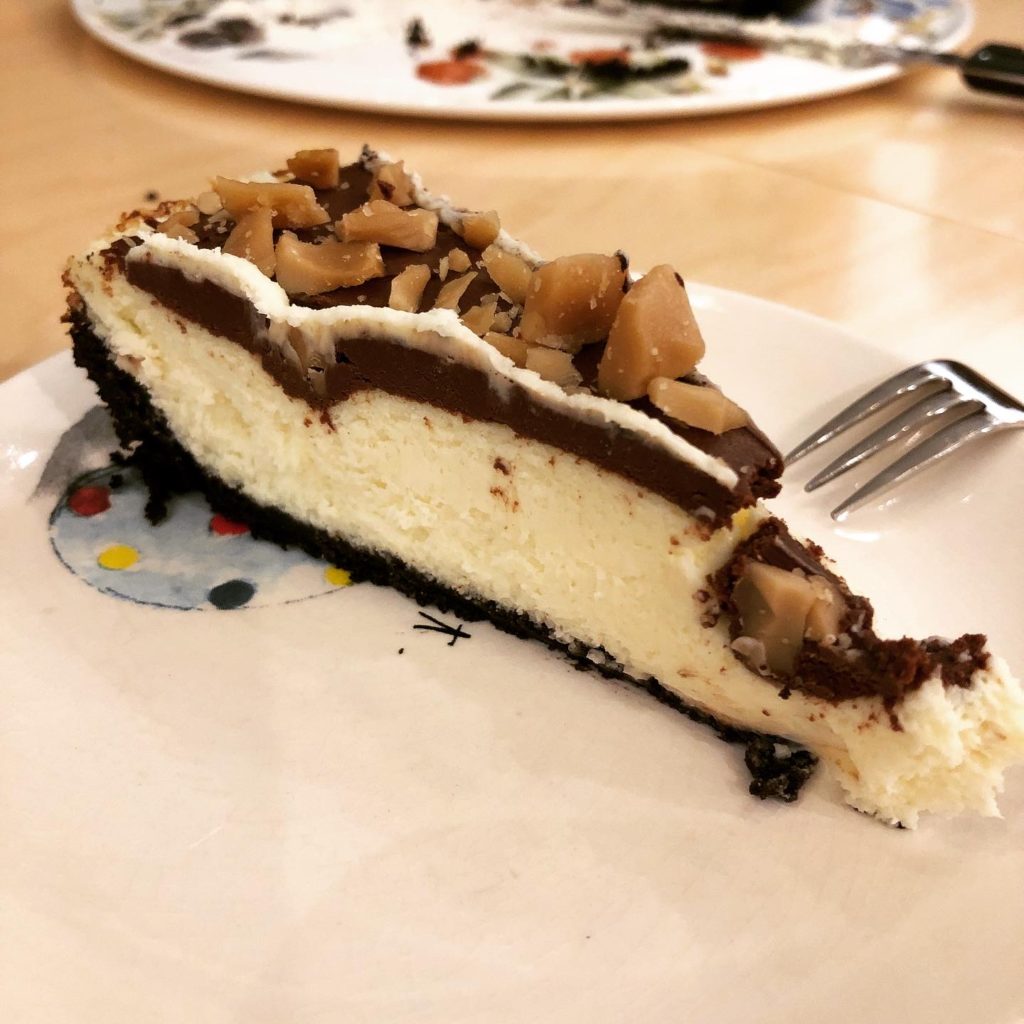
This is a basic (easy!) cheesecake base in a crumbled chocolate wafer crust, topped with a dark chocolate ganache and chunks of toffee. Most of it – the crust, the base, and the ganache – is barely sweet. Rich, yes, but not super sweet. The toffee, of course, is outrageously sweet, and the crunch counters the creamy base beautifully. I have recently narrowed in a bit on what makes me really like any particular dish, and it’s contrast. Sweet + salty, sour + sweet, crunchy + creamy. If something is one note, I’m less interested.
Anyway, this turned out beautifully, and it’s a good cake for birthdays and other special occasions, because while it requires a few steps, you can spread it out over a few days and it will keep in your already over-stuffed fridge. I’m presenting the order of operations as below, but the whole thing can be made a day or two ahead and kept, covered well, in the fridge:
Day before: Make toffee. Make crumb crust. Make and bake cheesecake.
Day of: Make ganache. Assemble cake.
Sources
The toffee recipe comes from a dear friend’s English toffee recipe, but for this cake I only made the toffee part – not the chocolate and nuts on top. The cheesecake is a simplified version of this Smitten Kitchen recipe for brownie mosaic cheesecake. It doesn’t add the brownie mosaic part! The foolproof ganache instructions come from Sherry Yard’s brilliant cookbook the Secrets of Baking.
Ingredient notes
I have only made this with regular old Philly cream cheese – I don’t know how it would turn out with more artisanal cream cheeses and admit to skepticism about trying it. Regular Philadelphia cream cheese is great for baking, don’t use whipped or low fat varieties, just the regular silver 8 oz. blocks. I also highly recommend you use high quality, 70% (at least) cocoa content chocolate to make the ganache. Don’t use chocolate chips. I use Valrhona 70% callets which I buy on Etsy. It melts beautifully and the sharpness of the chocolate contrasts perfectly with the rest of the cake. To make the crumb crust, I used Nabisco’s Famous chocolate wafers, which are easy to find and easy to work with. You could also absolutely make your own; I’ve made Bravetart’s chocolate wafers to use as a crumb crust before and they are virtually indistinguishable and, of course, completely delicious. You could also use regular graham crackers. Any kind of thin, crunchy wafer would work, crumb crusts are very flexible. I’ve updated the post to reflect a new-to-me method of making a crumb crust, from my excellent baker friend, that I was startled to find holds together much better when slicing up a crumb-crusted treat.
Chocolate toffee cheesecake
Ingredients
Toffee topping
- 1 cup unsalted butter
- 1/4 cup water
- 1 cup white granulated sugar
- 1/2 tsp salt
Crumb crust
- 1 box Nabisco chocolate wafers (or make your own) 1 box is about 9 ounces. And you are encouraged to eat 6-8 wafers, so it's really a bit less than a full box.
- 4 tbsp unsalted butter
- 1 pinch salt
Cheesecake base
- 3 (8 oz) packages cream cheese, at room temperature
- 4 large eggs
- 1 tsp vanilla extract
- 1 cup white granulated sugar
Ganache
- 1/2 cup heavy cream
- 4 oz bittersweet chocolate See note above about chocolate.
Instructions
Make the toffee topping
-
Gather all your ingredients and materials. You will need to be very attentive to prevent scorching, so you don't want to be shuffling around the kitchen once this is underway.
-
Line an 8" x 8" metal baking pan with aluminum foil, making sure the shiny side of the foil is facing up. Get a long-handled wooden spoon you can use to stir the candy when it is very hot. Do not use a plastic spoon; it will melt.
-
In a heavy-bottomed sauce pan, heat the butter over medium-high heat, first to melt, and then to boiling.
-
Add the water and bring back to the boil.
-
When the mixture is boiling, add sugar and salt.
-
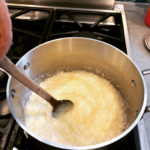
Continue cooking over medium-high heat, stirring constantly with your wooden spoon. This will start to get very hot and you may want to use a pot-holder to protect your hand while you continuously stir the bubbling liquid. This will turn creamy-looking and be extremely hot, take care! Continue cooking and stirring until a candy thermometer reaches 308°F (hard-crack).
-
Quickly and carefully tip the hot mixture into the foil-lined pan. Spread out evenly if necessary using the wooden spoon.
-
Let cool for several hours. Once completely cooled, tip the toffee and aluminum foil, peel the foil away, and then break up the toffee. I put it between two sheets of parchment in a ziploc and smashed it with a rolling pin.

-
Note: cleaning a pot after making candy can seem impossible, but the easiest way to do it is to fill your pot with water and bring it to the boil. This will melt the stuck candy, and you can swirl your wooden spoon around in the boiling water to remove the cemented sugar from both implements at once!
Make the crumb crust
-
Toss the wafers and salt into a food processor and pulse until fine.
-
Chop the butter into large chunks and add the chunks – cold or room temperature – to the food processor. [ A note: I have never known a recipe to tell you to make a crumb crust this way, but trust my skilled baker friend. It holds together better when cutting later. It will, naturally, also be delicious if you make it the usual way, by melting the butter and mixing that with the pulverized biscuits. ]
-
Pulverize the butter and biscuit mixture until it resembles fine bread crumbs.
-
Spread the crumb mixture into a 9-inch springform pan and press the mixture firmly and evenly, coming partway up the sides. You may want to get your hands slightly damp to make it easier. Try to avoid leaving a thicker part at the edge of the base of the pan, keep pressing and spreading it evenly.
-
Cover with plastic wrap and pop in the fridge until you are ready to fill. This will be fine overnight.
Make cheesecake base
-
Preheat oven to 350°F and adjust oven rack to the middle of the oven.
-
Beat cream cheese in a stand mixer fitted with the paddle attachment (or with a handheld mixer) at mid-speed until fluffy. You will probably need to scrape down the sides and the paddle at least once.
-
Turn the mixer to low. Add the eggs one at a time, beating on low speed until incorporated. Scrape down the sides between adding each egg.
-
With the mixer still on low, add the vanilla and then the sugar, scraping the bowl between each addition. Mix until well incorporated.
-
Take your springform pan with the now-cold crumb crust out of the fridge and place it on a rimmed baking pan (to catch any spills and save your oven). Pour the filling into the crust.
-
Bake in the preheated oven for about 45 minutes, or until the edges of the cake are set but the middle is still slightly wobbly when gently shaken. Don't overbake!
-
Remove from oven and let cool completely. Once completely cool, you can top with the ganache or cover with plastic wrap and store in the fridge for a day or two.
Make the ganache
-
In a small, clean, heavy-bottomed sauce pan, bring the cream to a boil. It should bubble and rise up in the pan.
-
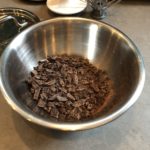
While you are waiting for the cream to boil, chop your chocolate finely with a large serrated knife (like a bread knife). A serrated knife is less likely to slip on the chocolate and cause you injury. Do not skip this step, even if your chocolate is already in small chunks or callets! You want it to be fine and consistent so it will melt easily and evenly.
-
Place finely chopped chocolate in a heat-proof bowl.
-
Once at boiling, pour the cream carefully over the chocolate. Tap the bowl gently against the counter to help settle the chocolate.
-
Wait one minute. Breathe in the chocolatey goodness.
-
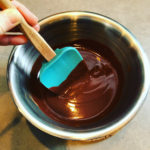
Using a rubber spatula, gently stir the chocolate, starting from the inside and moving gently out. Stir gently for two minutes, trying not to incorporate too much air but fully emulsifying the chocolate into the cream. This is the best part, you'll want to dive in.
-
Once fully incorporated, allow to cool to 70°F before trying to spread on the cake. You can give it an occasional stir while it cools.
Assemble the cake
-
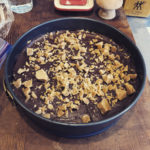
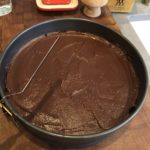
I found it easier to spread the ganache and sprinkle the toffee while the cake was still in the springform, because it makes fridge storage so much easier when your cake has sides! It would probably be a little neater if you did it after you take the cake out of the springpan, but up to you.
-
Also, if you've done things in a different order, no worries! Just make sure everything is nice and cool before you start assembling. Hot cake, hot ganache, or hot toffee will absolutely result in a big mess.
-
Evenly spread the cooled ganache on the cooled cheesecake using an offset spatula.
-
Sprinkle with chunks of toffee to your taste; I did not use the entire recipe's worth of toffee by a long shot.